

Getting started
If you want to use Patrol finders in your existing widget or golden tests, go to Using Patrol finders in widget tests.
In this tutorial, we are using example app, which has package name
com.example.myapp on Android, bundle id com.example.MyApp on iOS
and My App name on both Android and iOS. Replace any occurences
of those names with proper values.
Add dependency on patrol
If you haven't already, add a dependency on the patrol package in the
dev_dependencies section of pubspec.yaml.
flutter pub add patrol --dev
Configure Patrol in pubspec.yaml
Create patrol section in your pubspec.yaml:
dependencies:
  # ...

dev_dependencies:
  # ...

patrol:
  app_name: My App
  android:
    package_name: com.example.myapp
  ios:
    bundle_id: com.example.MyApp
Install patrol_cli
Patrol CLI (command-line interface) is a small program that enables running
Patrol UI tests. It is necessary to run UI tests (flutter test won't work! Here's why).
-
Install
patrol_cliexecutable:dart pub global activate patrol_cli -
Verify that installation was successful and your enviroment is set up properly:
patrol doctor
Integrate with native side
The 3 first steps were common across platforms. The rest is platform-specific.
Psst... Android is a bit easier to set up, so we recommend starting with it!
-
Go to android/app/src/androidTest/java/com/example/myapp/ in your project directory. If there are no such folders, create them.
-
Create a file named
MainActivityTest.javaand copy there the code below.
package com.example.myapp; // replace "com.example.myapp" with your app's package

import androidx.test.platform.app.InstrumentationRegistry;
import org.junit.Test;
import org.junit.runner.RunWith;
import org.junit.runners.Parameterized;
import org.junit.runners.Parameterized.Parameters;
import pl.leancode.patrol.PatrolJUnitRunner;

@RunWith(Parameterized.class)
public class MainActivityTest {
    @Parameters(name = "{0}")
    public static Object[] testCases() {
        PatrolJUnitRunner instrumentation = (PatrolJUnitRunner) InstrumentationRegistry.getInstrumentation();
        // replace "MainActivity.class" with "io.flutter.embedding.android.FlutterActivity.class"
        // if your AndroidManifest is using: android:name="io.flutter.embedding.android.FlutterActivity"
        instrumentation.setUp(MainActivity.class);
        instrumentation.waitForPatrolAppService();
        return instrumentation.listDartTests();
    }

    public MainActivityTest(String dartTestName) {
        this.dartTestName = dartTestName;
    }

    private final String dartTestName;

    @Test
    public void runDartTest() {
        PatrolJUnitRunner instrumentation = (PatrolJUnitRunner) InstrumentationRegistry.getInstrumentation();
        instrumentation.runDartTest(dartTestName);
    }
}
-
Go to the build.gradle file, located in android/app folder in your project directory.
-
Add these 2 lines to the
defaultConfigsection:
  testInstrumentationRunner "pl.leancode.patrol.PatrolJUnitRunner"
  testInstrumentationRunnerArguments clearPackageData: "true"
- Add this section to the
androidsection:
  testOptions {
    execution "ANDROIDX_TEST_ORCHESTRATOR"
  }
- Add this line to
dependenciessection:
androidTestUtil "androidx.test:orchestrator:1.4.2"
-
Open
ios/Runner.xcworkspacein Xcode. -
Create a test target if you do not already have one via
File > New > Target...and selectUI Testing Bundle. Change theProduct NametoRunnerUITests. Make sureTarget to be Testedis set toRunnerand language is set toObjective-C. SelectFinish. -
2 files are created:
RunnerUITests.mandRunnerUITestsLaunchTests.m. DeleteRunnerUITestsLaunchTests.mthrough Xcode. -
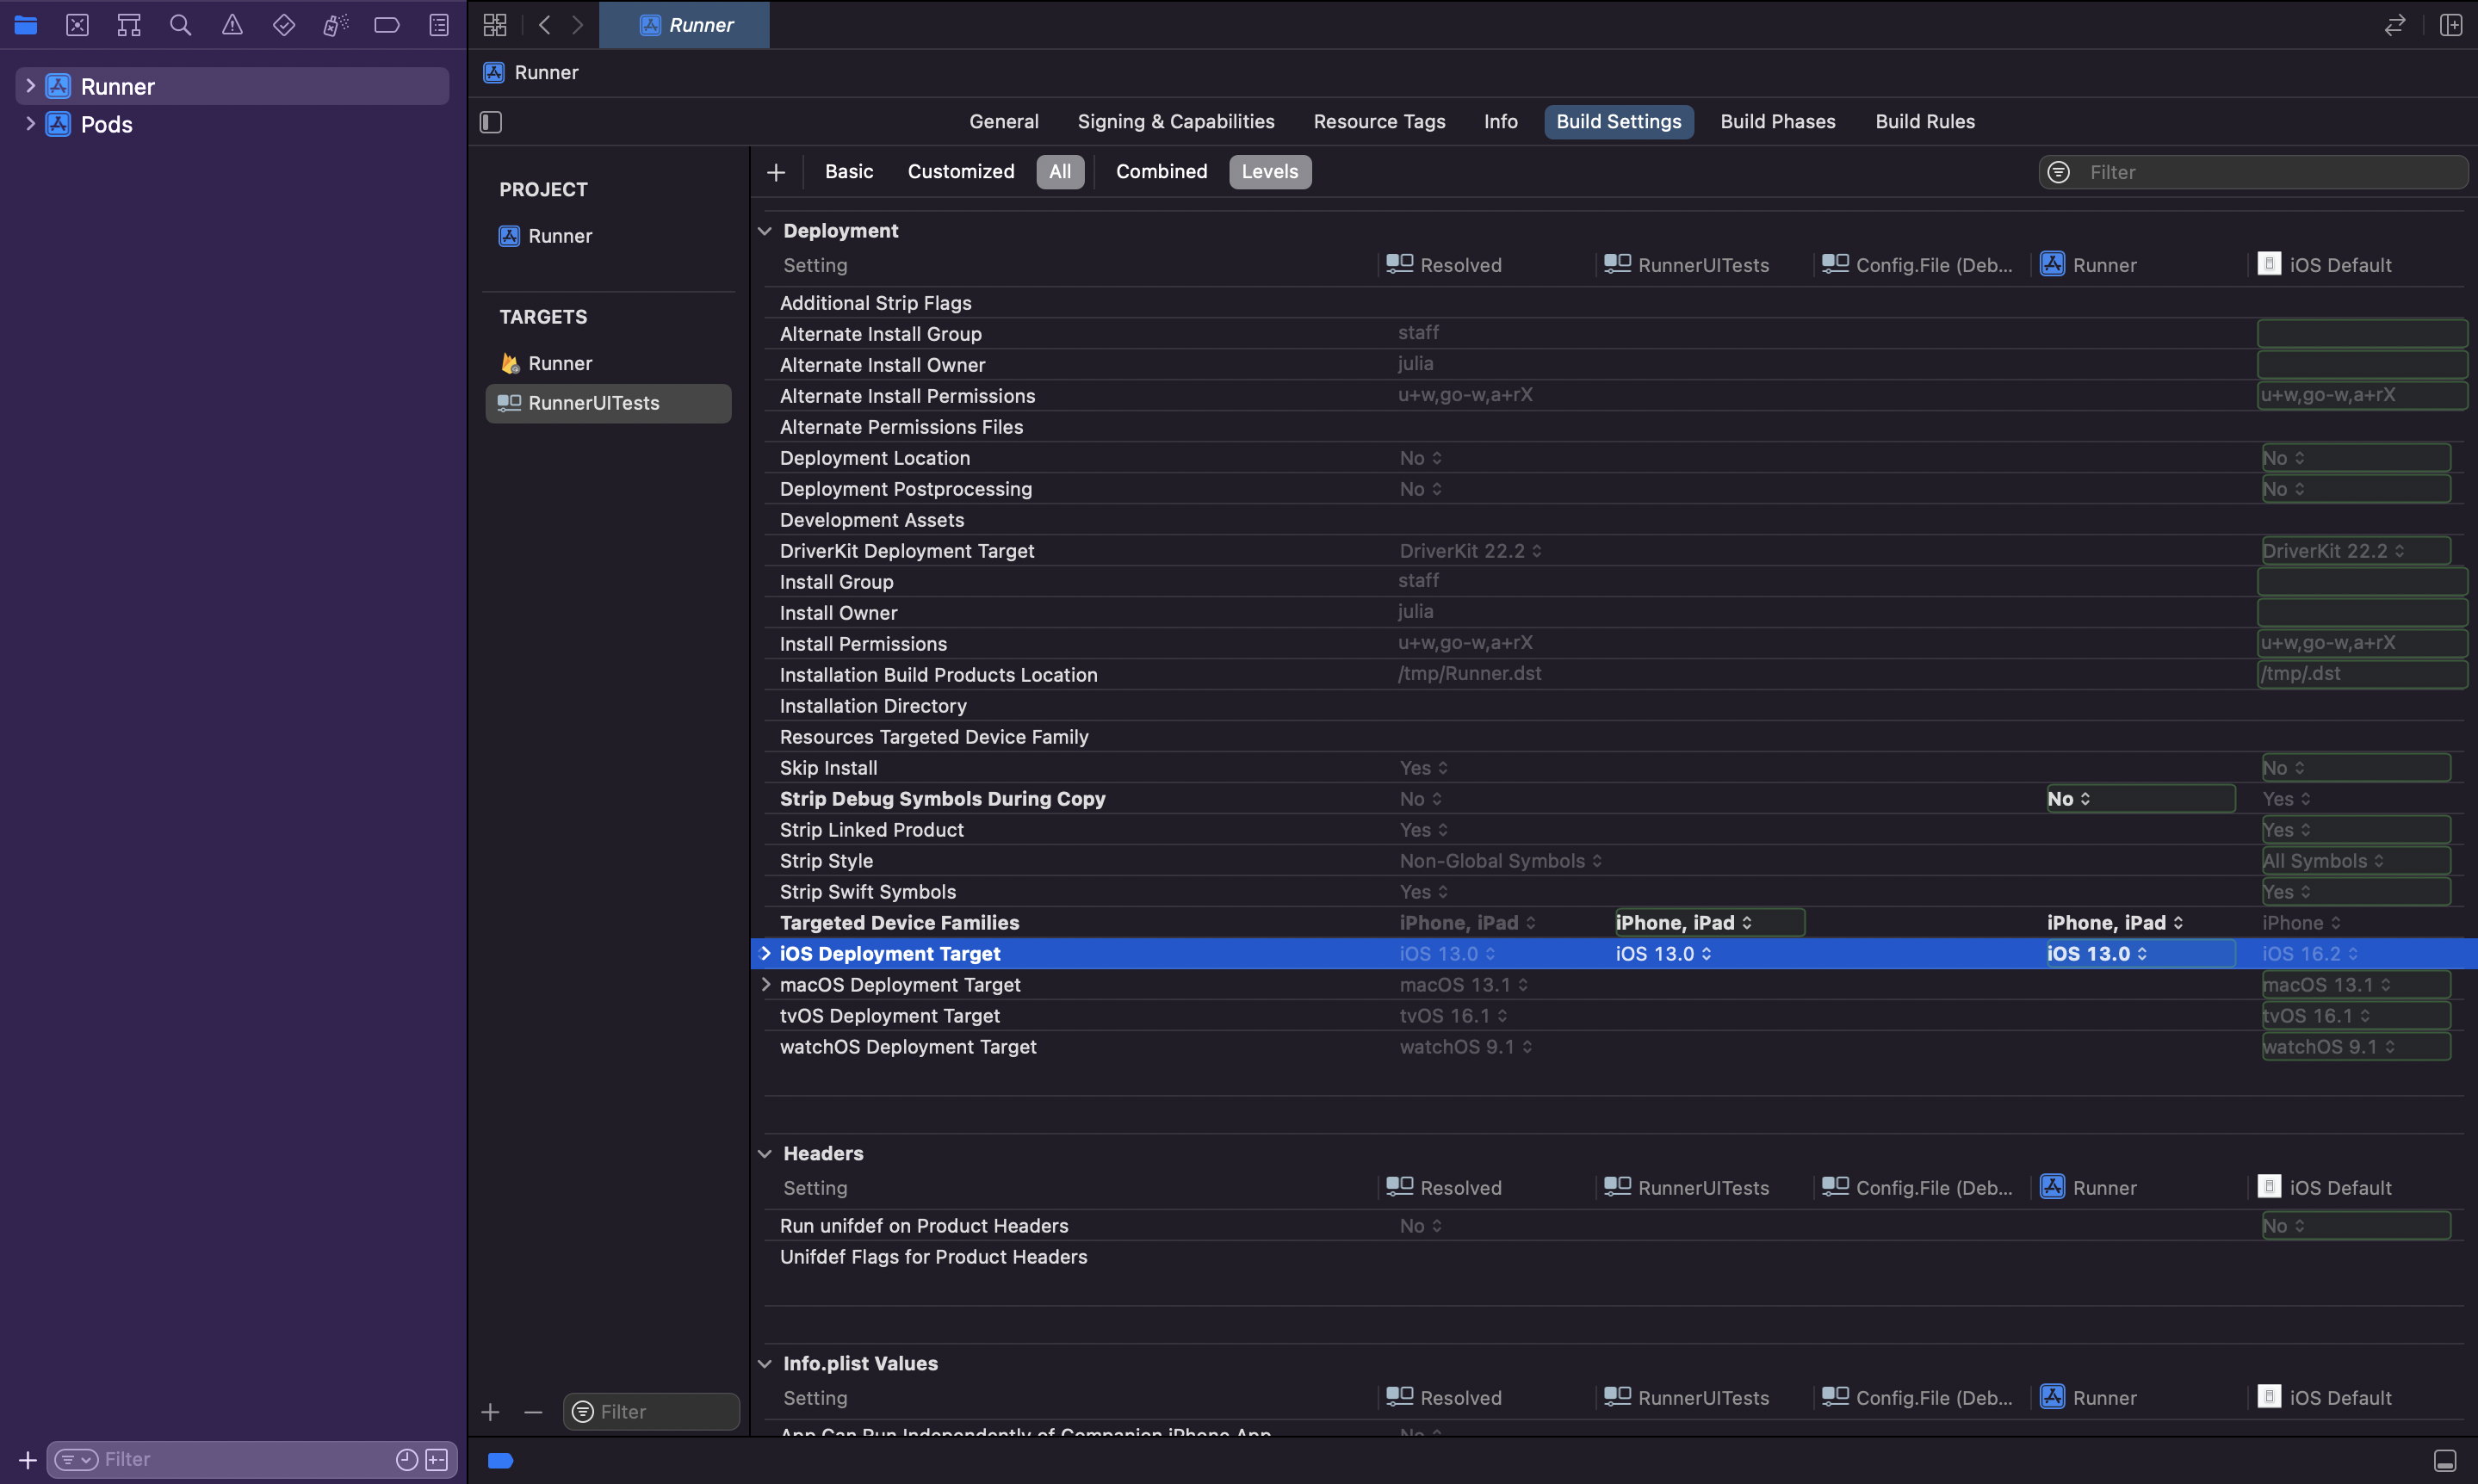
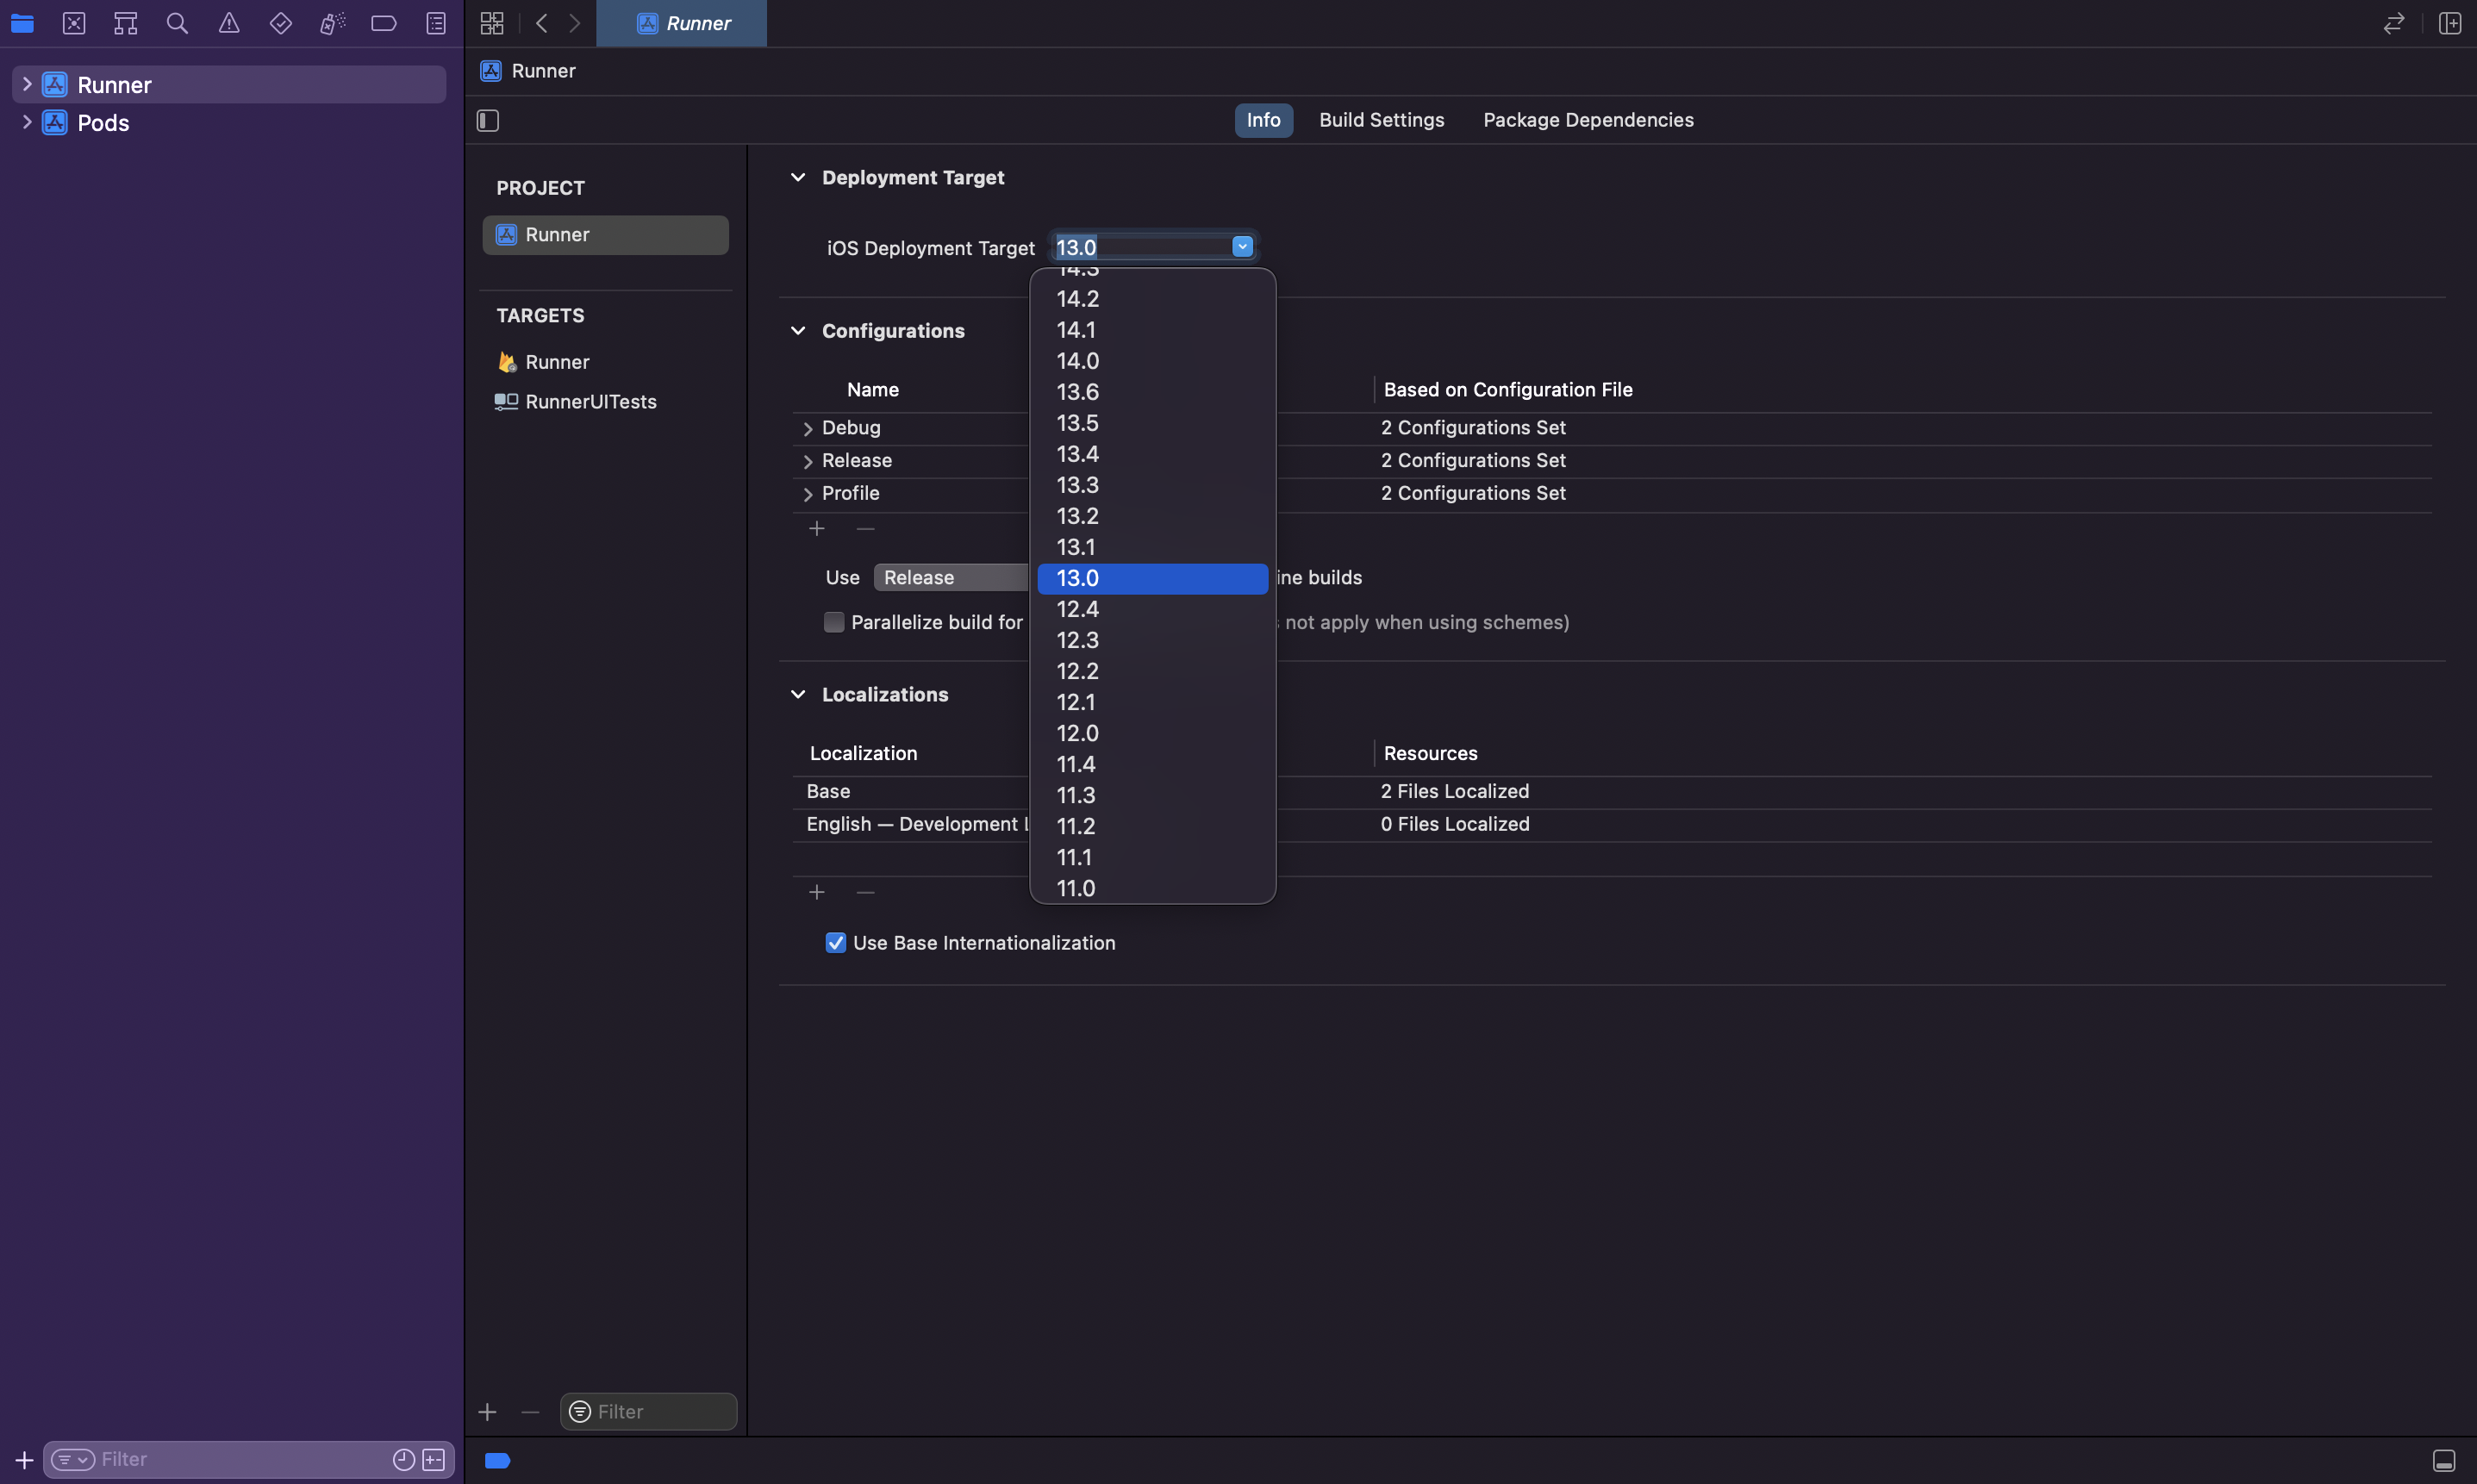
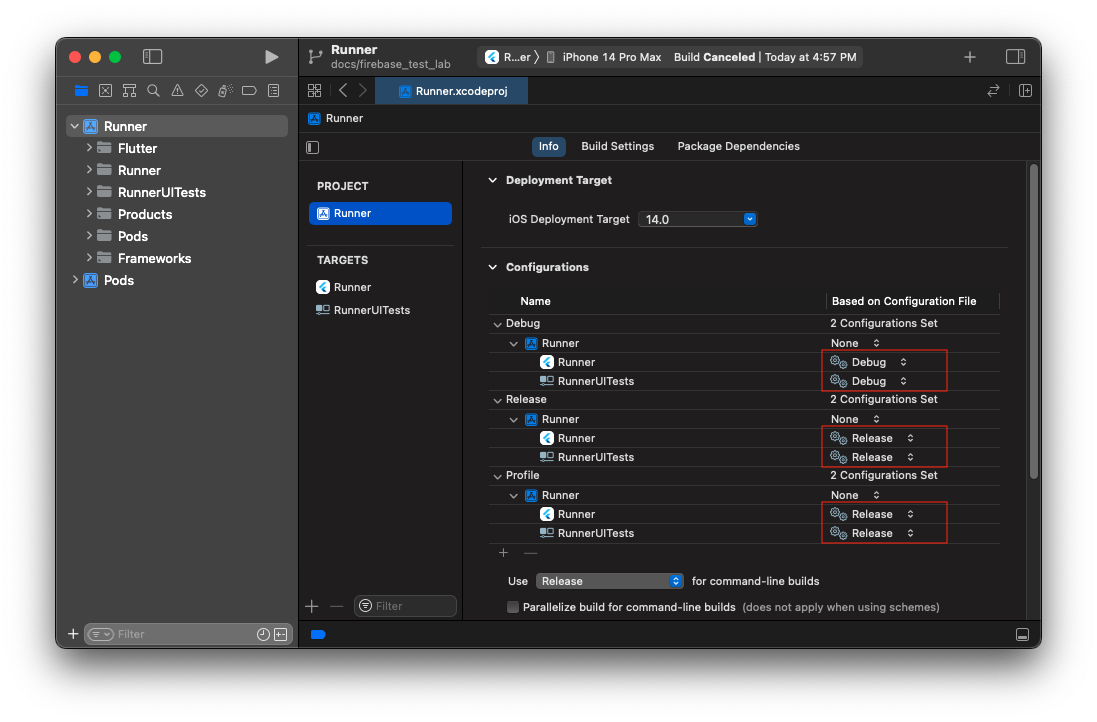
Make sure that the iOS Deployment Target of
RunnerUITestswithin the Build Settings section is the same asRunner. The minimum supported iOS Deployment Target is11.0.
- Replace contents of
RunnerUITests.mfile with the following:
@import XCTest;
@import patrol;
@import ObjectiveC.runtime;

PATROL_INTEGRATION_TEST_IOS_RUNNER(RunnerUITests)
Add the newly created target to ios/Podfile by embedding in the existing
Runner target.
target 'Runner' do
  # Do not change existing lines.
  ...

  target 'RunnerUITests' do
    inherit! :complete
  end
end
- Create an empty file
integration_test/example_test.dartin the root of your Flutter project. From the command line, run:
$ flutter build ios --config-only integration_test/example_test.dart
- Go to your
iosdirectory and run:
$ pod install --repo-update
- Open your Xcode project and make sure every target has correct base Build Configurations:
$ open Runner.xcworkspace
- Add 2 new "Run Script Phase" Build Phases to the RunnerUITests target:
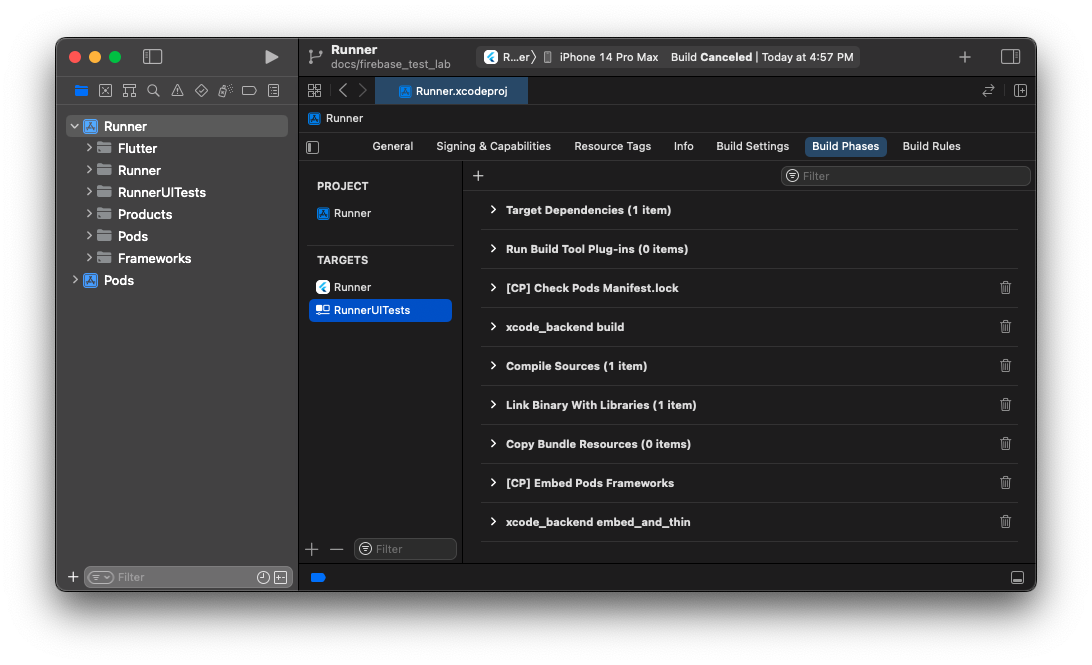
- Paste this code into the first
xcode_backend buildBuild Phase:
/bin/sh "$FLUTTER_ROOT/packages/flutter_tools/bin/xcode_backend.sh" build
- Paste this code into the second
xcode_backend embed_and_thinBuild Phase:
/bin/sh "$FLUTTER_ROOT/packages/flutter_tools/bin/xcode_backend.sh" embed_and_thin
- Xcode by default also enables a "parallel execution" setting, which breaks Patrol. Disable it:
Create a simple integration test
Let's create a dummy Flutter integration test that you'll use to verify that Patrol is correctly set up.
Paste the following code into integration_test/example_test.dart:
import 'package:flutter/material.dart';
import 'package:flutter_test/flutter_test.dart';
import 'package:patrol/patrol.dart';

void main() {
  patrolTest(
    'counter state is the same after going to home and switching apps',
    ($) async {
      // Replace later with your app's main widget
      await $.pumpWidgetAndSettle(
        MaterialApp(
          home: Scaffold(
            appBar: AppBar(title: const Text('app')),
            backgroundColor: Colors.blue,
          ),
        ),
      );

      expect($('app'), findsOneWidget);
      await $.native.pressHome();
    },
  );
}
It does only 2 things:
- first, it finds a text
app - then, it then exits to home screen
It's a very simple test, but it's enough to verify that Patrol is correctly set
up. To run integration_test/example_test.dart on a local Android or iOS device
(emulated or physical):
patrol test -t integration_test/example_test.dart
If the setup is successful, you should see a TEST PASSED message.
If your app is using flavors, then you can pass them like so:
patrol test --target integration_test/example_test.dart --flavor development
or you can specify them in pubspec.yaml (recommended):
patrol:
  app_name: My App
  flavor: development
  android:
    package_name: com.example.myapp
  ios:
    bundle_id: com.example.MyApp
    app_name: The Awesome App
To prevent issues during Patrol tests, please follow these guidelines:
- Do not call
IntegrationTestWidgetsFlutterBinding.ensureInitialized. Patrol automatically initializes its own test binding. - Do not modify the global
FlutterError.onErrorcallback. Patrol's internals depend on it.
Going from here
To learn how to write Patrol tests, see finders and native automation sections.